![]()
Copyright 2014-2016 by Evgueni Kovriguine
The NMR titrations produces a series of 2D datasets that must be correctly processed to allow for the line shape analysis. It is important to note that most "standard" 2D processing protocols used in routine NMR titration experiments are designed to increase resolution in the spectra by applying resolution-enhancement window functions such as the shifted sine-bell, gaussian, Kaiser, etc. To make NMR data suitable for fitting with Bloch-McConnell equations, the raw NMR datasets must be processed using the exponential window functions to obtain lorentzian line shapes. This leads to visual loss of resolution but the lorentzian line shape is a requirement in the current version of IDAP. For a thorough description of window functions as well as the basics of 2D data processing - see standard NMR texts such as Cavanaugh et al. [1].
One difficulty in line shape analysis of titration data is the sheer number of the datasets that needs to be processed. Large number of similar datasets leads to errors in labeling of the results, which is difficult to detect and prevent if processing is done in the one-by-one fashion. To make analysis of multiple 2D datasets error-proof, I am including the Python program ProcessAll.py, which purpose is to direct consistent processing of the entire titration series. The program code and usage is described in its header and highlighted below.
System requirements: Unix, Linux, or OS X. May be adapted for Windows but --- never tried.
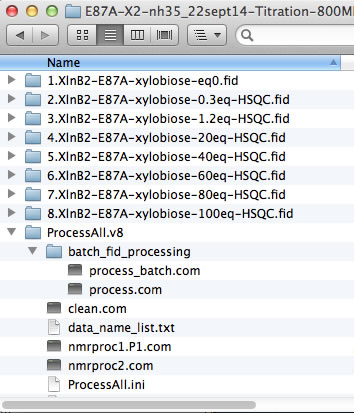
Typical series of 2D NMR datasets contains 5-16 folders originating from the spectrometer. The ProcessAll.v8 folder with its content should be copied to the same location.
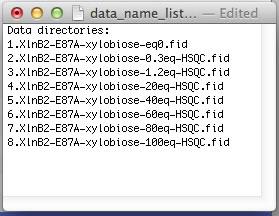
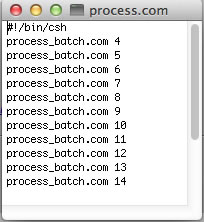
The NMR data folders may have arbitrary names. The best practice is to add a numerical prefix to the folder names to indicate position of the dataset in the titration series and enter dataset names in data_name_list.txt to direct ProcessAll program to proper folders. In the next step, the IDAP 1D NMR will use this prefix to automatically assign the correct index to the spectrum in the Sparky project. Example:
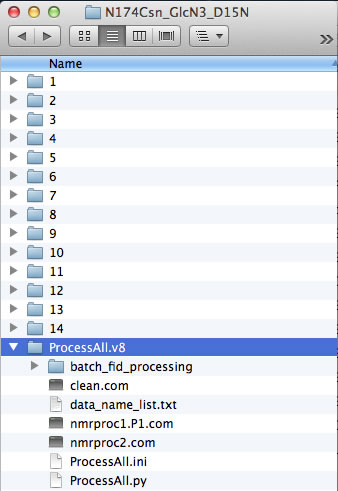
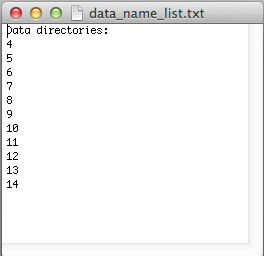
However, if your experiments already have numerical names and you don't want to change them - just enter dataset names in data_name_list.txt the way they are. In this example, the experiments #1-3 were 1D datasets, while 2D began with #4. You will have to enter indices manually in Sparky later to indicate the sequence of the 2D spectra in the titration.
The ProcessAll program directs data processing using NMRPipe, which must be installed on your system. Prior to running ProcessAll, you have to convert the raw spectrometer data into the NMRPipe format. Typically, all of your experiments were acquired with the same spectrometer parameters (which is a recommended mode -- except for the number of transients for averaging that may be increased in the low-sensitivity spectra in the intermediate points). If all datasets had the same parameters you can use a simple batch processing workflow decribed below:
The scripts will run fid.com that you created in each of the data folders in the process.com list. The NMR data is ready for processing with ProcessAll.
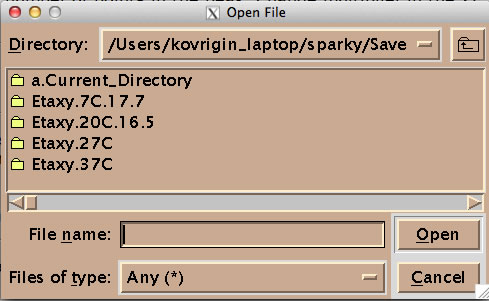
Now you can create your Sparky project. I recommend using the automated workflow as outlined below. To have it work you need to copy two helper Python programs make_save_files.v2.py and unscrew_savefiles.py ( in NMRLineShapes1D/NMR_series_processing/Python/) onto your system Python path. Kovrigin submenu in Sparky must be installed.
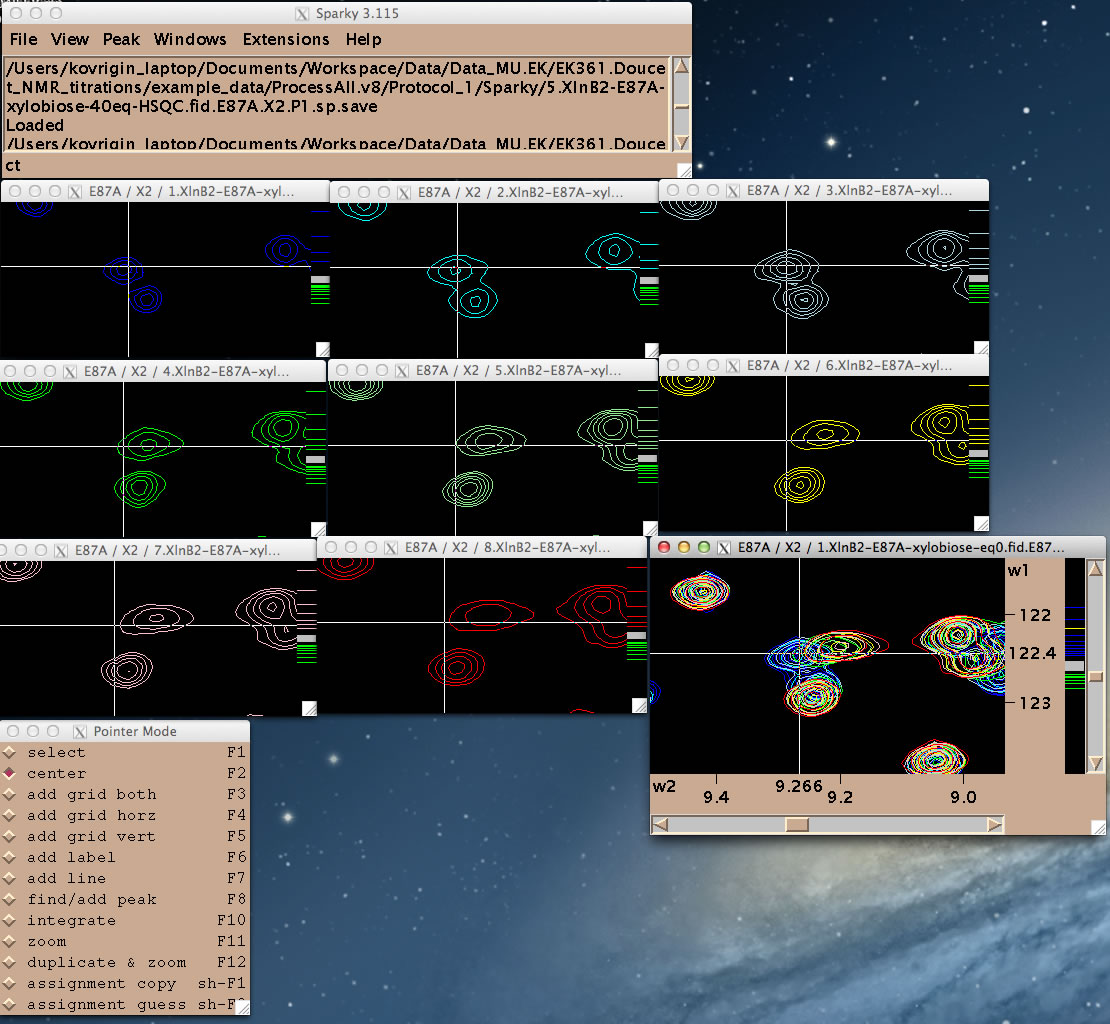
You are ready to begin line shape data extraction with the IDAP 1D NMR extension.
NOTES:
This section is not essential for the line shape analysis and details underlying principles behind ProcessAll operation.
Processing of NMR datasets by NMRPipe is sequential (vector after vector) and linear (sequence of operations do not matter, in most cases). Some of the processing operations may take significant time when applied to a large titration series. It makes sense to perform time-consuming operations first to produce some intermediate file and then apply "polishing" functions such as phase shifting, extraction, and baseline correction (which, normally, need to have their parameters adjusted multiple times before the result is deemed satisfactory). To achieve this goal, we use two NMRPipe scripts that are executed in a sequence: nmrproc1.P1.com (and nmrproc1.P2.com) and nmrproc2.com. The nmrproc1.PX.com scripts include "less variable" processing steps (apodization, zero-filling, Fourier transformation) while nmrproc2.com does the phase shifting, baseline correction, and spectral range extraction.
In the first stage, the ProcessAll.py runs the nmproc1-script(s) producing hypercomplex datasets (hypercomplex --- because the imaginaries are not discarded as is usually done in the standard NMRPipe scripts). These datasets (.for_nmrproc2 extension) are very large (4x vs. the final files). In the second stage, the nmrproc2-script starts with the hypercomplex data to perform all "adjustment" operations and create the final ft2 and sparky format sp files.
Thanks to splitting of the processing into two stages, in case of iterative adjustment of the phases, spectral range or baseline, we do not need to run the most time-consuming operations of processing again. Instead, ProcessAll.py (with the switch -ps) only runs the nmrproc2.com; therefore, adjustment of the 10-15 datasets takes very little time.
To make sure the disk space is not consumed by left-over hypercomplex files, you run the clean.com script to clean up all the hypercomplex and ft2 data.
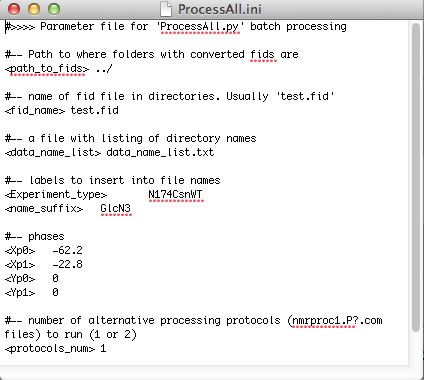
ProcessAll.py is capable of performing two parallel processing protocols encoded in nmrproc1.P1.com and nmrproc1.P2.com. This way one may examine effect of different data processing routines on the results of analysis. By default, ProcessAll.py uses just one protocol (nmrproc1.P1.com). To enable two parallel protocols, set <protocols_num> 2 in ProcessAll.ini and create nmrproc1.P2.com (duplicate the P1 script and adjust the processing routine). The results of the second protocol will be deposited in Protocol_2 folder.
[1] Cavanaugh, J., Fairbrother, W. J., Palmer III, A. G., and Skelton, N. J. (2006) Protein NMR Spectroscopy: Principles and Practice, Academic Press.